Basics
Features
Security
Administration
Command Line Interfaces
- Introduction
- repliadm
- repliadm coordinator
- repliadm validate
- repliadm versions
- replictl
- replictl action
- replictl apply
- replictl cluster
- replictl sso
Orchestrator Action Reference
API Reference
Upgrades
Scaling
Quick Start
This guide will go through the steps needed to setup a local, container based, playground to test out Replicante Core and the official agents. By the end you should have a full system running that can be used to experiment with and demo all replicante features and behaviours.
Please note: this guide does not explain how to install and configure replicante for production use and it does not attempt to cover all possible configuration, installation and management details.
1. Getting the code
The playground is a git repo containing a set of docker-compose projects.
Each docker-compose project runs a full cluster and its agents. There is also a docker-compose project to run replicante core with all its dependencies.
Details about each project can be found in the README.md file of that project but generally:
- All projects are self-bootstrapping: just
docker-compose upand a configuration script will run too. - Each project has an additional
docker-compose-agents.yamlfile to run the agents too. - After images are pulled/built there is no more need for internet access.
$ git clone --recoursive https://github.com/replicante-io/playgrounds.git
$ cd playgrounds
2. Prepare the network
All playgrounds projects share the same docker network to allow tools managed by separate docker-compose projects to interact with each datastore without having to reference resources created and managed by external docker-compose projects.
Ensure the replicante_playgrounds docker network exists:
# Check for the network.
$ docker network ls --filter 'name=replicante_playgrounds'
NETWORK ID          NAME                DRIVER              SCOPE

# Create the network since it is missing.
$ docker network create --driver 'bridge' --subnet '172.64.0.0/16' replicante_playgrounds
<NETWORK ID>

# Check again.
$ docker network ls --filter 'name=replicante_playgrounds'
NETWORK ID          NAME                     DRIVER              SCOPE
<NETWORK ID>        replicante_playgrounds   bridge              local
The IP range used for this network is 172.64.0.0/16 and is described here:
http://jodies.de/ipcalc?host=172.64.0.0&mask1=16&mask2=
3. Running a MongoDB replica set
In this example we will run a MongoDB three node replica set configuration with agents. The same commands can be used to run any number of playgrounds so they will not be repeated.
Start the docker compose project.
The first time, this will pull and build images as needed. Keep in mind that initialisation can take up to a minute.
The optional -d runs the processes in the background if you don’t care for the logs.
$ cd stores/mongo/rs
$ docker-compose -f docker-compose.yml -f docker-compose-agents.yml up [-d]
Make sure that the controller process exited with a zero code and all other processes are up.
$ docker-compose -f docker-compose.yml -f docker-compose-agents.yml ps
     Name                    Command               State             Ports
------------------------------------------------------------------------------------
rs_agent1_1       /replicante/agents/target/ ...   Up       0.0.0.0:37018->37017/tcp
rs_agent2_1       /replicante/agents/target/ ...   Up       0.0.0.0:37019->37017/tcp
rs_agent3_1       /replicante/agents/target/ ...   Up       0.0.0.0:37020->37017/tcp
rs_controller_1   docker-entrypoint.sh bash  ...   Exit 0
rs_node1_1        docker-entrypoint.sh mongo ...   Up       27017/tcp
rs_node2_1        docker-entrypoint.sh mongo ...   Up       27017/tcp
rs_node3_1        docker-entrypoint.sh mongo ...   Up       27017/tcp
4. Start Replicante Core and the WebUI
Just like other projects, an initialisation script is run to initialise and configure datastores if needed. It could take a couple of minutes to initialise everything the first time.
The configuration defaults to discovering all nodes for the clusters available in the playground and runs the API and WebUI on port 16016 and 3000 respectively.
$ cd tools/replicore/
$ docker-compose up
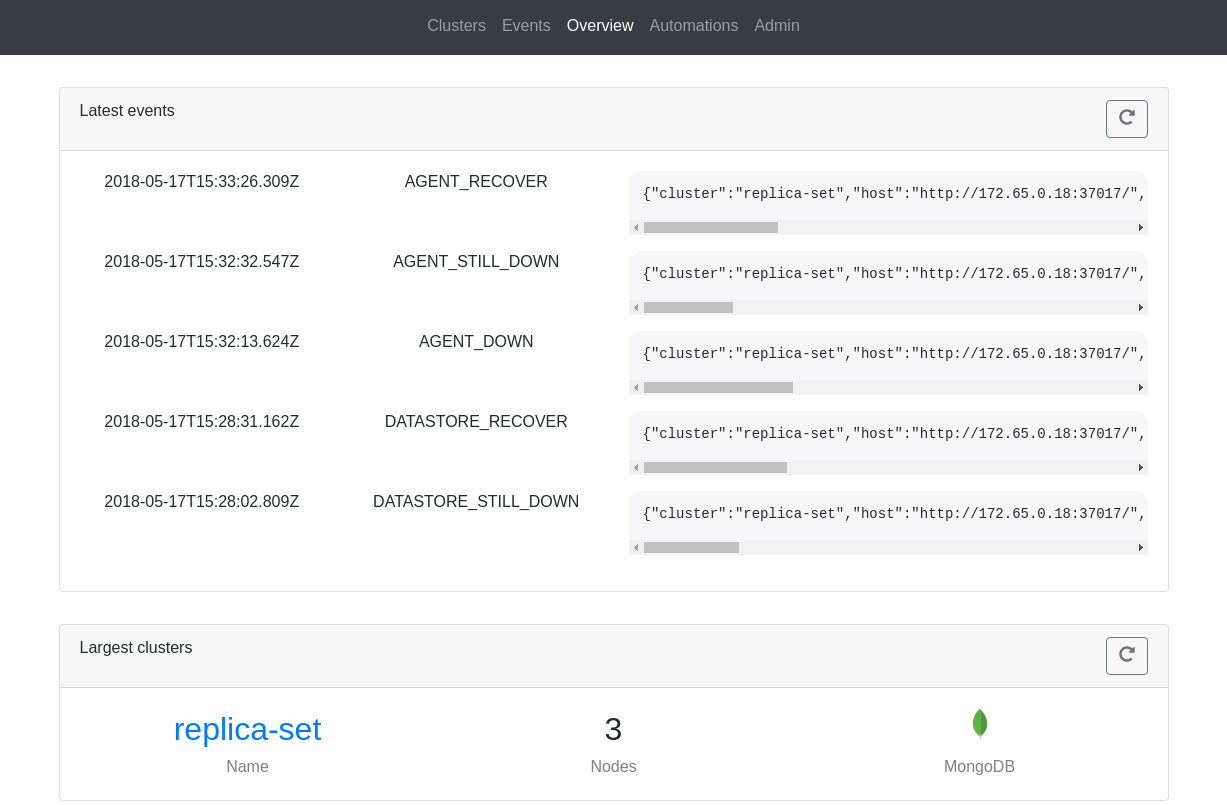
Once everything is up and running the WebUI will be available at http://localhost:3000/:
5. Experimenting with the playground
Now that all processes are up and running we can interfere with systems and see what happens. Try things like:
- Stop/start data nodes and/or agents.
- Fail over primaries.
- Use the awesome kernel features and tools to simulate network issues (
tc) and other limits (cgroups).
6. Clean up
Each cluster runs as a single docker-compose project and stores data in docker volumes.
To clean up after you no longer need these processes, remove all the docker containers, images, and volumes run: